To get started with Zonelets, follow the text on this site or the video tutorial playlist on YouTube!
Contents:
- Downloading the Zonelets files
- Uploading the files to Neocities
- Writing your first post
- Adding your name and blog name
- Gazing upon your handiwork
- What's next?
Downloading the Zonelets files
Click here to download the files from itch.io
Uploading the files to Neocities
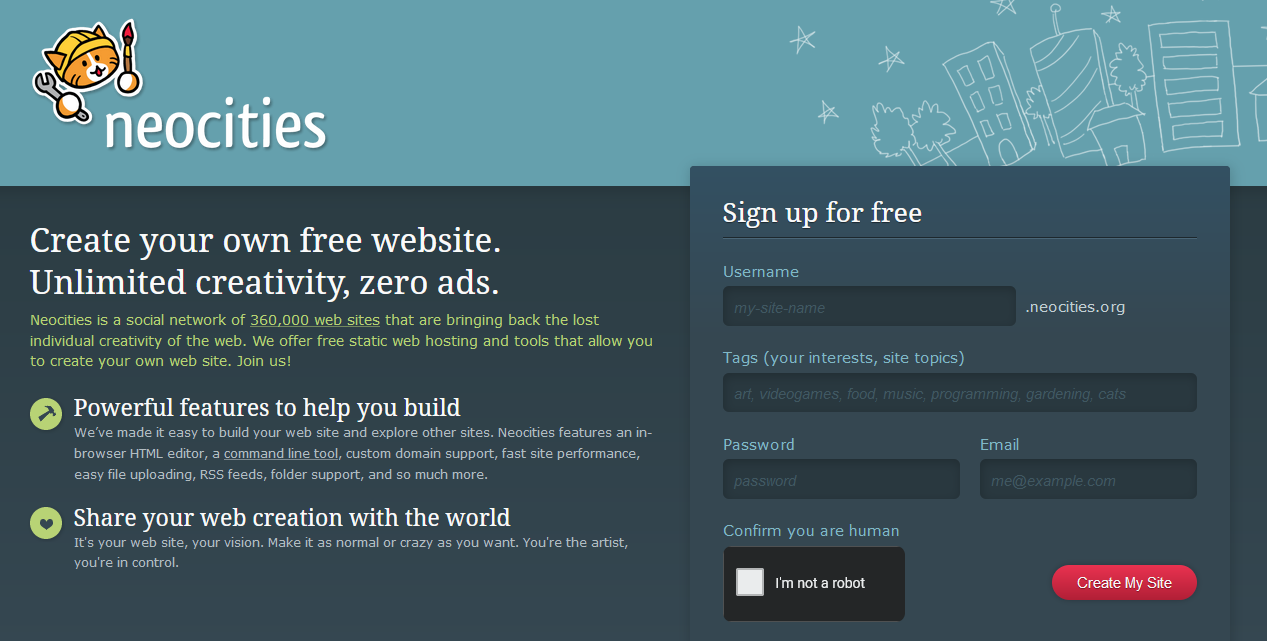
Caption: Neocities simple sign-up page
- Create an account at Neocities. Tag your site "zonelets" among other things, if you'd like! (Don't worry: tags can be changed later from your Neocities profile).
- Once your account is up and running, delete the existing Neocities starter files (aside from index.html, which cannot be deleted. "index.html" is the default home page file name for websites in general.)
- Unzip the Zonelets files that you downloaded from itch.io and open the folder.
- Navigate to "Edit Site", and upload all the Zonelets files/folders to your Neocities site (drag and drop or use the upload button). NOTE: Neocities file uploader has trouble uploading multiple folders at once. Save yourself some confusion and upload each folder individually. It's fine to upload multiple regular files at once.
NOTE: If you upload a file to Neocities and it has the same name as an existing file in that folder, the old file will be overwritten! So the Neocities default index.html will automatically be overwritten by the Zonelets index.html, which in this case is what we want!
Caption: Neocities site editor with everything deleted except index.html
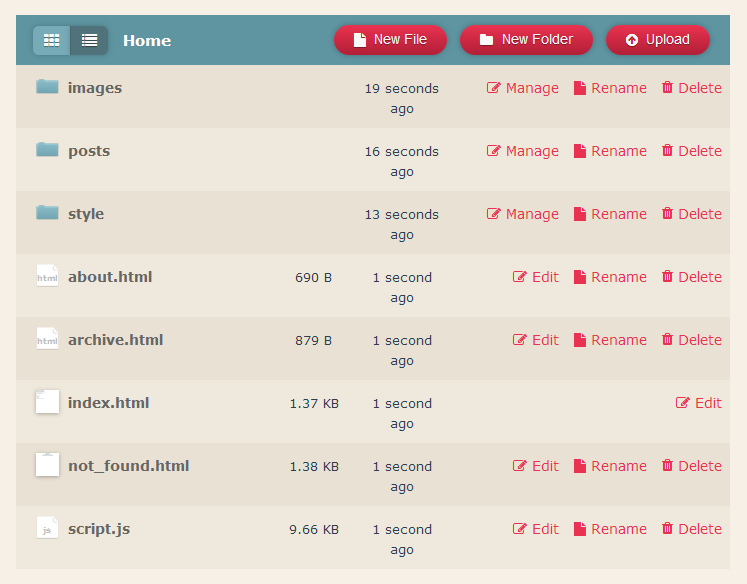
Caption: After uploading the files, your site should look like this (readme.txt and whatsnew.txt are not necessary to upload)
Writing your first post
Zonelets posts are written in HTML. If you haven't done much coding before, it may appear visually overwhelming at first. But for now you can safely ignore virtually ALL the weird-looking stuff. That said, at some point, you should read a beginner's guide to HTML—Neocities has one that's a cute cat comic!
- Back on the dashboard, navigate to the posts folder.
- Create a new file following the naming conventions of the example posts. For example: 2020-11-12-Plover-Appreciation.html
- Copy the contents of 2020-11-10-Post-Template.html into your new file
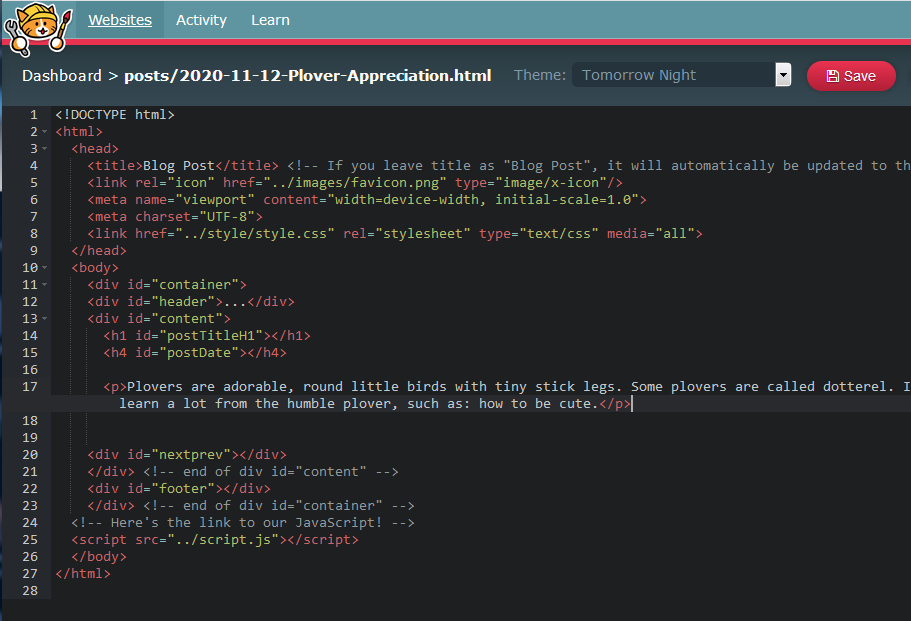
Open your post and write some stuff in the <p> tag on line 17. For example:
<p>Plovers are adorable, round little birds with tiny stick legs. Some plovers are called dotterel. I think we can all learn a lot from the humble plover, such as: how to be cute.</p>
- Save your file by clicking the red Save button in the top right, or with the keyboard shortcut Ctrl+S or Cmd+S.
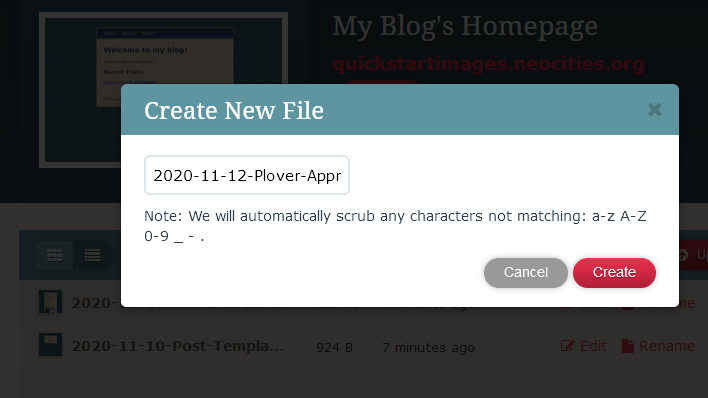
Caption: creating and naming a new post
Caption: this is how your first post should be looking
Updating the script
- Copy the name of your file you just edited, including the posts/ part. This should look something like posts/2020-11-12-Plover-Appreciation.html. You can copy this from the top left corner of the HTML editor, or by going back out to the posts folder and clicking rename (cancel after you copy the filepath, you don't actually want to rename it!).
- Now head to the scripts folder and open scripts.js.
- Paste the filename that you just copied into postsArray (line 23), following the format of the example posts. Now your post will appear in your Archive and the list of recent posts!
- Before you go, update the values for blogName, authorName, and authorLink in Section 1: Basic Info.
- Save your work and return to the Dashboard. You did it!
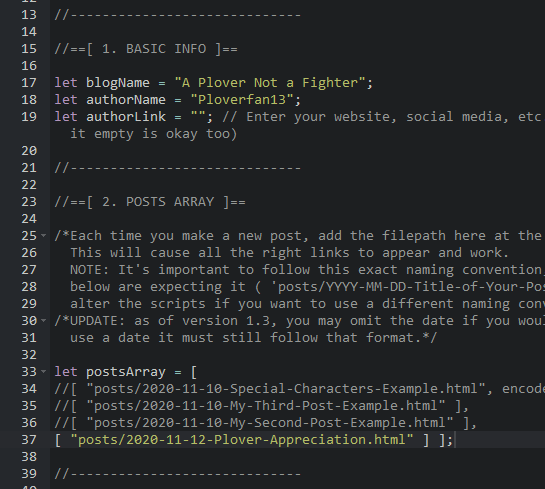
Caption: This is how script.js should look after you add your first post to the posts array and update the "Basic Info" section
Gazing upon your handiwork
- Click on the big red link on your dashboard to preview your site! You can also just type "yourusername.neocities.org" into your web browser (replacing "yourusername" with your actual neocities username, of course!).
- You should now see a sample homepage with a list of recent posts at the bottom. The post you just made should be at the top!
- At the very bottom of the page, you should see a footer saying that [Your blog's name] is written by [you], and if you click on your name it should go to your website/social media link. Remember, you just entered all those values in the script, so you can go back and change them at any time.
- If you click on the link to your post in the Recent Posts section, you should see the sample text that you just wrote (were you also writing about plovers? Or was that just me?).
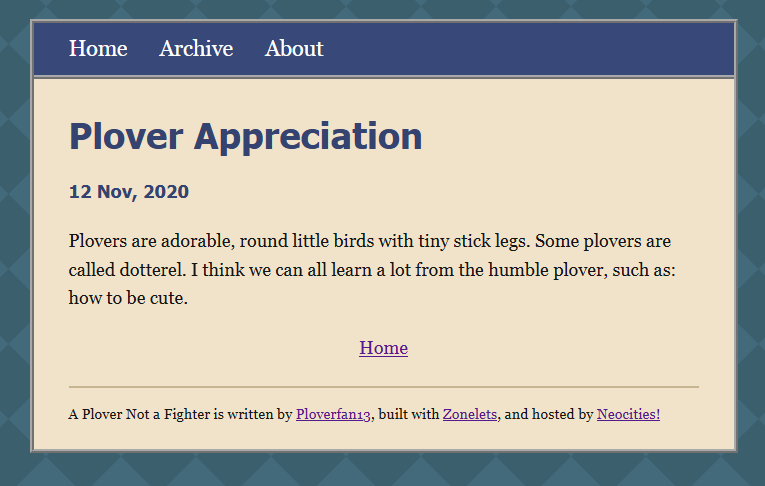
Caption: This is how your post should look when you view it live!
IMPORTANT NOTE: In web development, sometimes the effects of the changes you make may be delayed. Try refreshing the page, using a "hard refresh", or simply coming back to it in a few minutes. Checking in on another device or browser can also help. If things aren't changing, it doesn't necessarily mean you did anything wrong!
Congratulations! You now have a blog!
What's next?
- Check out the Neocities cute cat comic beginner HTML tutorial that we procrastinated earlier!
- Go to the theme gallery to browse themes and view an explanation for how to set your theme.
- Customize the contents of your Home page and About page!
- Skim the Frequently Asked Questions. There's a lot of useful info there!
- When you're ready, share your blog with your friends, enemies, and loved ones!